TopoLynx topoXplore enables you to create divided polyline features. There are two ways to use the Divide tool:
1.) You can divide an auxiliary line (red line) into sections by using different methods on the Divide panel. TopoLynx topoXplore stores the splitting points into a point feature layer.
2.) The Divide tool can be also used on selected polyline or polygon features. In this case the Divide tool stores the divided line segments in the edited polyline feature layer, or in a new layer if there is no edited layer on the Layers panel.
![]() The polygon feature can be selected by using the
The polygon feature can be selected by using the ![]() Identify tool in the Query menu\toolbar.
Identify tool in the Query menu\toolbar.
Tap / Left click: adds vertices of the auxiliary line on the map.
Drag: adds vertices of the auxiliary line on the map with displayed crosshairs.
Tap and hold / Right click: displays the editing context menu. The Divide panel can be opened by selecting the Create option from the editing context menu.
The Divide tool remains active until another tool is activated.

Divide panel
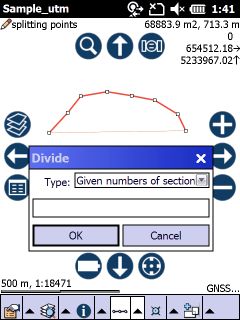
Type: select a dividing method you wish to use. Enter the value(s) that you want use to the selected method.
1.Given numbers of sections: divides the auxiliary line into n equal parts.
2.Equal lengths: divides the auxiliary line from the first vertex into n equal length sections with remainder.
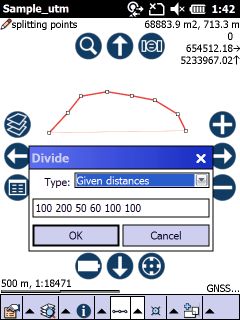
3.Given distances: divides the auxiliary line from the first vertex into n given (different) length sections with remainder. For example: 10 10 50 18.9 (space separated values).
4.Given ratios: divides the auxiliary line into n different length sections by given ratios. For example: 2 3 2 (space separated values).
Enter the values in current map unit for method 2 and 3.
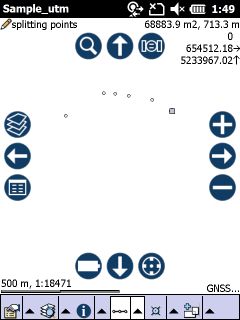
OK stores the splitting points into the edited point layer.
![]() The splitting points can be created when editing is turned on for a point layer in the Layers panel.
The splitting points can be created when editing is turned on for a point layer in the Layers panel.
Dividing by distances

The results
